
How do you choose virtual tour software for Houseup listings?
Decision checklist for choosing virtual tour software for Houseup listings: capture options, a 15-minute demo test, embedding tips, and privacy checks.
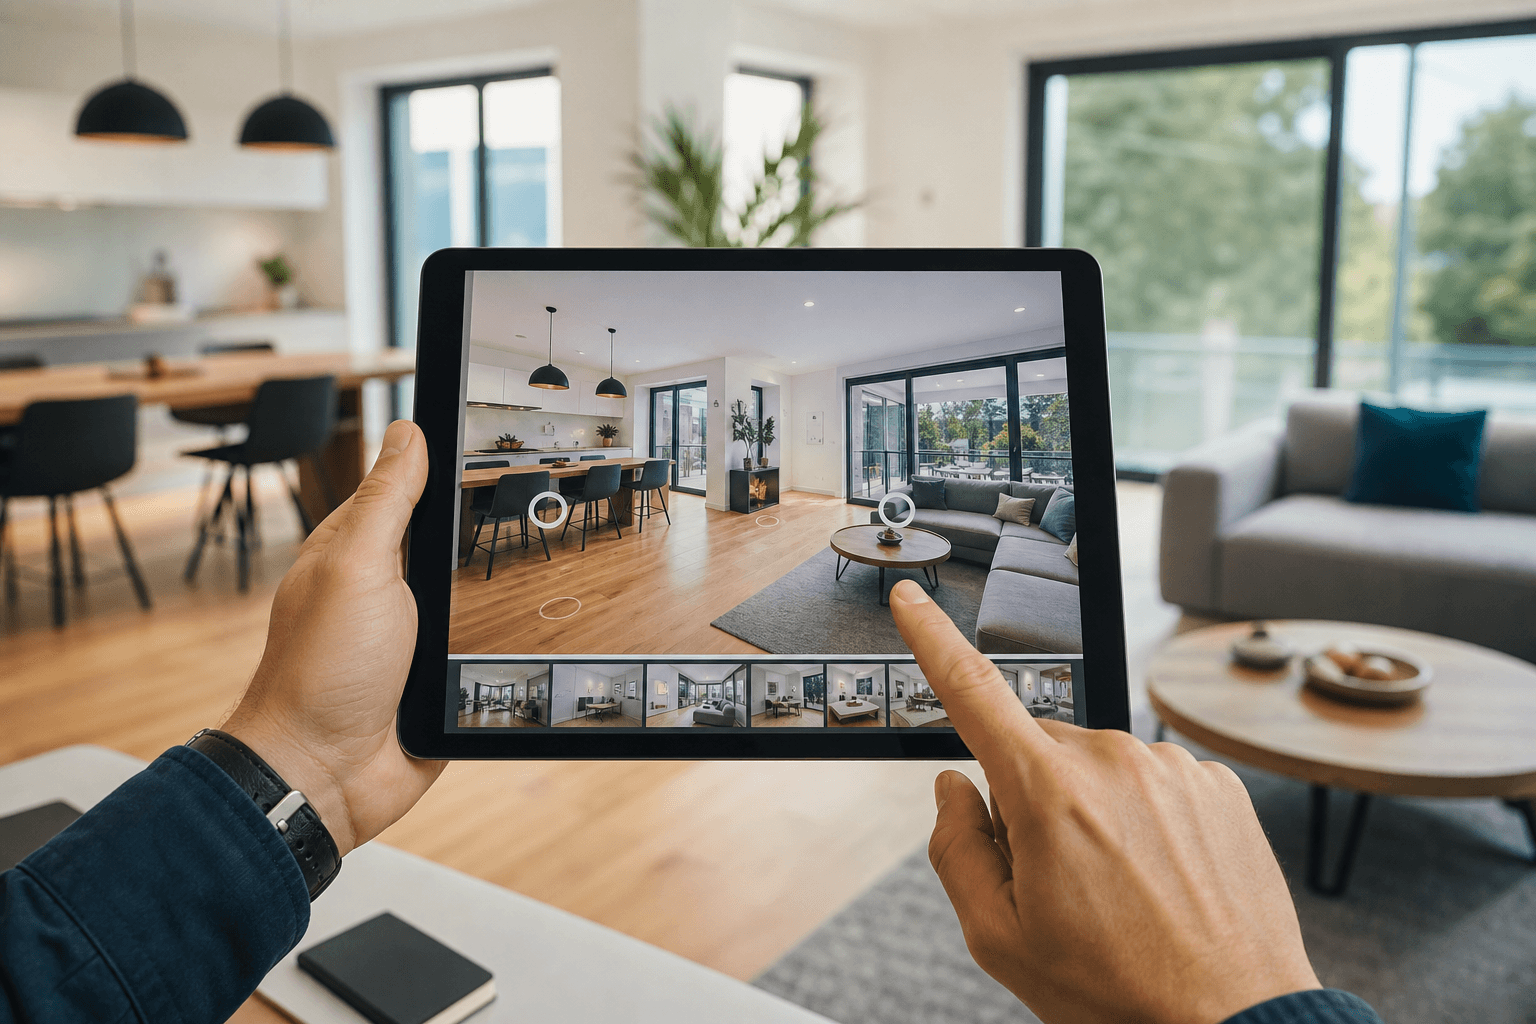
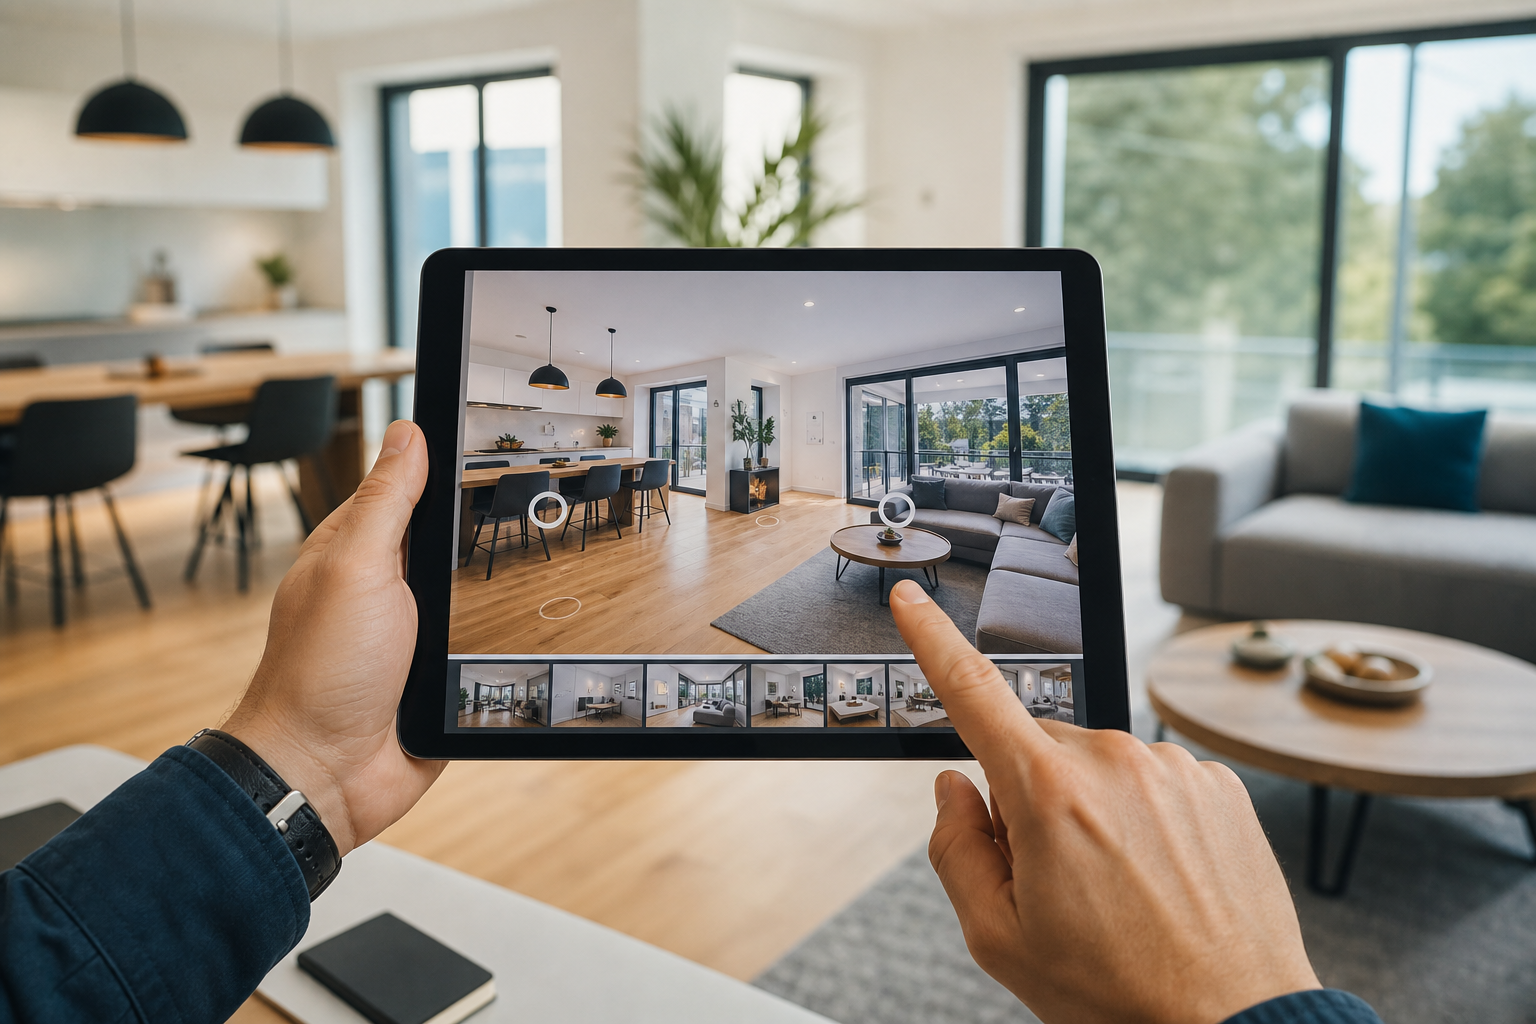
How do you choose virtual tour software for Houseup listings?
Selling or renting on Houseup often starts with a strong listing, and virtual tour software can be the difference between a quick, qualified viewing and a wasted appointment. This decision checklist helps Canadian homeowners, independent sellers, and photographers select the right virtual tour software for your operating model, capture approach, and distribution needs. It includes capture approach tradeoffs, a mandatory feature checklist, a 15-minute demo test you can run with vendors, embedding and mobile-fit advice for Houseup listings, privacy and security checks, and clear pass or fail stop points.
Decision path: choose a capture approach first
The single biggest decision is not the brand name of virtual tour software, it is the capture approach you will use: high-precision hardware-driven systems, consumer 360 cameras or phones, or AI photo-to-tour builders. That choice shapes cost, time, image fidelity, and what software features you actually need. Industry buyer guidance emphasises matching your operating model to the capture approach instead of being seduced by demo polish alone; treat vendor demos as operational tests, not magic shows (VirtualTourEasy buyer's guide).
How to pick your operating model
- High volume, fast listing turnover: favour speed and low labour per tour, such as AI photo-to-tour or phone-based capture.
- Premium or architectural listings: favour absolute fidelity and measured floorplans using hardware-heavy solutions.
- Balanced local sellers or DIY: consumer 360 cameras or phone-based 360 capture often give the best tradeoff.
Vendor buyer guides recommend deciding this first because capture dictates workflow, hardware, upload time, and buyer experience (2026 buyers guide).
Compare capture approaches: pros, cons, and when to pick each
Use this compact comparison to narrow your shortlist before feature debates.
- Hardware-heavy precision platforms
- Pros: high-fidelity scans, accurate measurements, professional-grade floorplans.
- Cons: expensive hardware, longer capture and processing time, steeper learning curve.
- When to pick: premium listings that rely on accuracy and a polished buyer experience.
- Consumer 360 cameras or smartphone 360 workflows
- Pros: affordable, fast capture, good enough fidelity for most residential listings.
- Cons: variable stitch quality, may require stable lighting or some editing.
- When to pick: DIY sellers, most Houseup listings, and workflows prioritising speed and cost.
- AI photo-to-tour builders
- Pros: create tours from standard photos quickly, low hardware needs, fast turnaround.
- Cons: variable spatial accuracy, limited measurement reliability, sometimes generic navigation patterns.
- When to pick: large scale listing projects or sellers who lack 360 hardware but need rapid, consistent tours.
Industry comparisons note these are tradeoffs between fidelity, speed, and cost; pick the approach that aligns with how quickly you need tours and how critical exact dimensions are for buyers (VirtualTourEasy buyer's guide, Matterport overview).
Feature checklist every real estate tour must meet
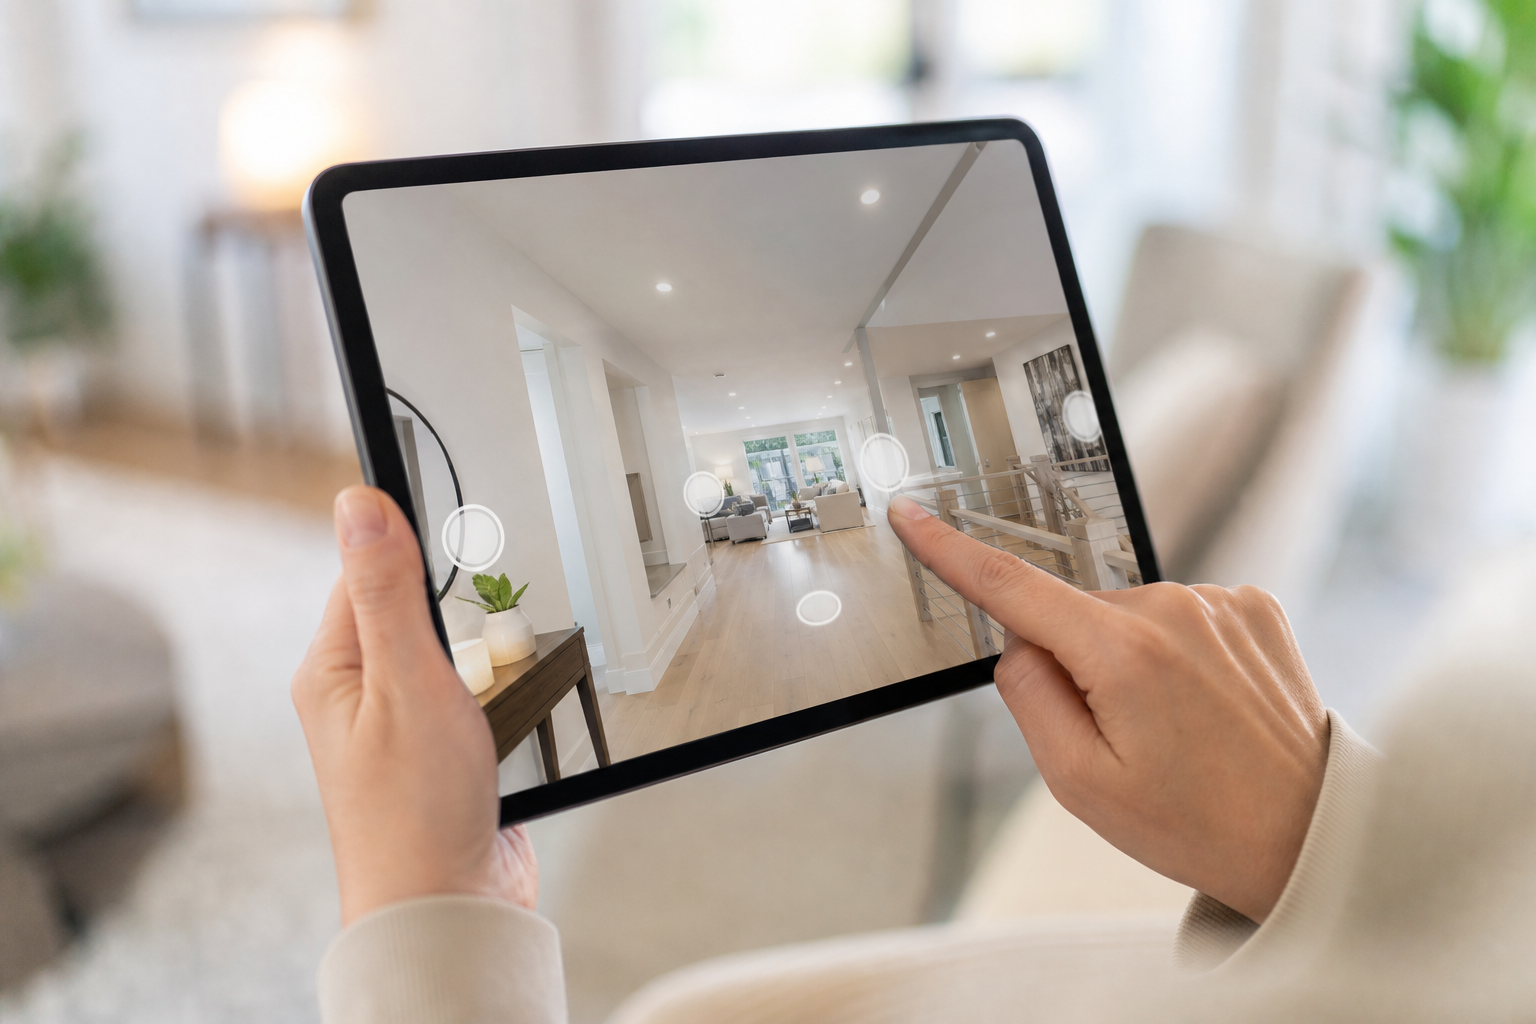
Treat the items below as pass or fail essentials for listing-ready tours, followed by nice-to-have features that raise conversion.
Mandatory features
- Orientation first view: the tour opens with a clear orientation image or map so viewers immediately understand layout and flow (guided tour evaluation).
- Clear navigation and routing: route markers, room labels, or a mini-map that prevents visitor confusion.
- Mobile responsiveness and touch controls: tours must play smoothly on phones and tablets used by most Houseup visitors (Houseup highlights mobile apps and distribution).
- Embed-friendly hosting: the platform provides an embed code or a clean public link suitable for listing pages and social sharing.
- Basic analytics: visitor counts, session duration, and top-viewed scenes to measure tour engagement.
- Reasonable upload and processing time: a same-day or next-day turnaround for standard listings.
Nice-to-have features
- Guided tour mode with narration or text highlights to focus buyer attention.
- Floorplans and measurement tools with a reliable accuracy statement from the vendor.
- Lead-capture overlays or CTA buttons that link back to your Houseup message thread.
- SEO-friendly pages and fast public hosting for better listing discovery.
Real Horizons and Matterport resources stress that orientation and navigation are more influential on buyer readiness than decorative annotations, so prioritise clarity over effects (Real Horizons, Matterport).
Workflow and embedding: fit tours into Houseup listings and mobile apps
Houseup supports listings that link to or embed multimedia assets, and the platform distributes listings across Canadian networks. For best results:
- If the vendor supplies an iframe embed code, test embedding in a draft Houseup listing and verify mobile playback in the Houseup apps and browser (Houseup).
- If the vendor hosts the tour on a public page, prefer short, permanent links and test how that page loads on 4G mobile connections.
- Use a thumbnail image and a brief descriptive caption on Houseup so buyers tap through intentionally rather than accidentally.
When you need help creating a high-quality listing or embedding a tour, consider hiring a local pro listed on Houseup’s professionals directory; for example, see this local listing for construction and media services to find a vendor who can capture or process tours: vds construction 0rt47d.
A 15-minute demo test you can run with any vendor
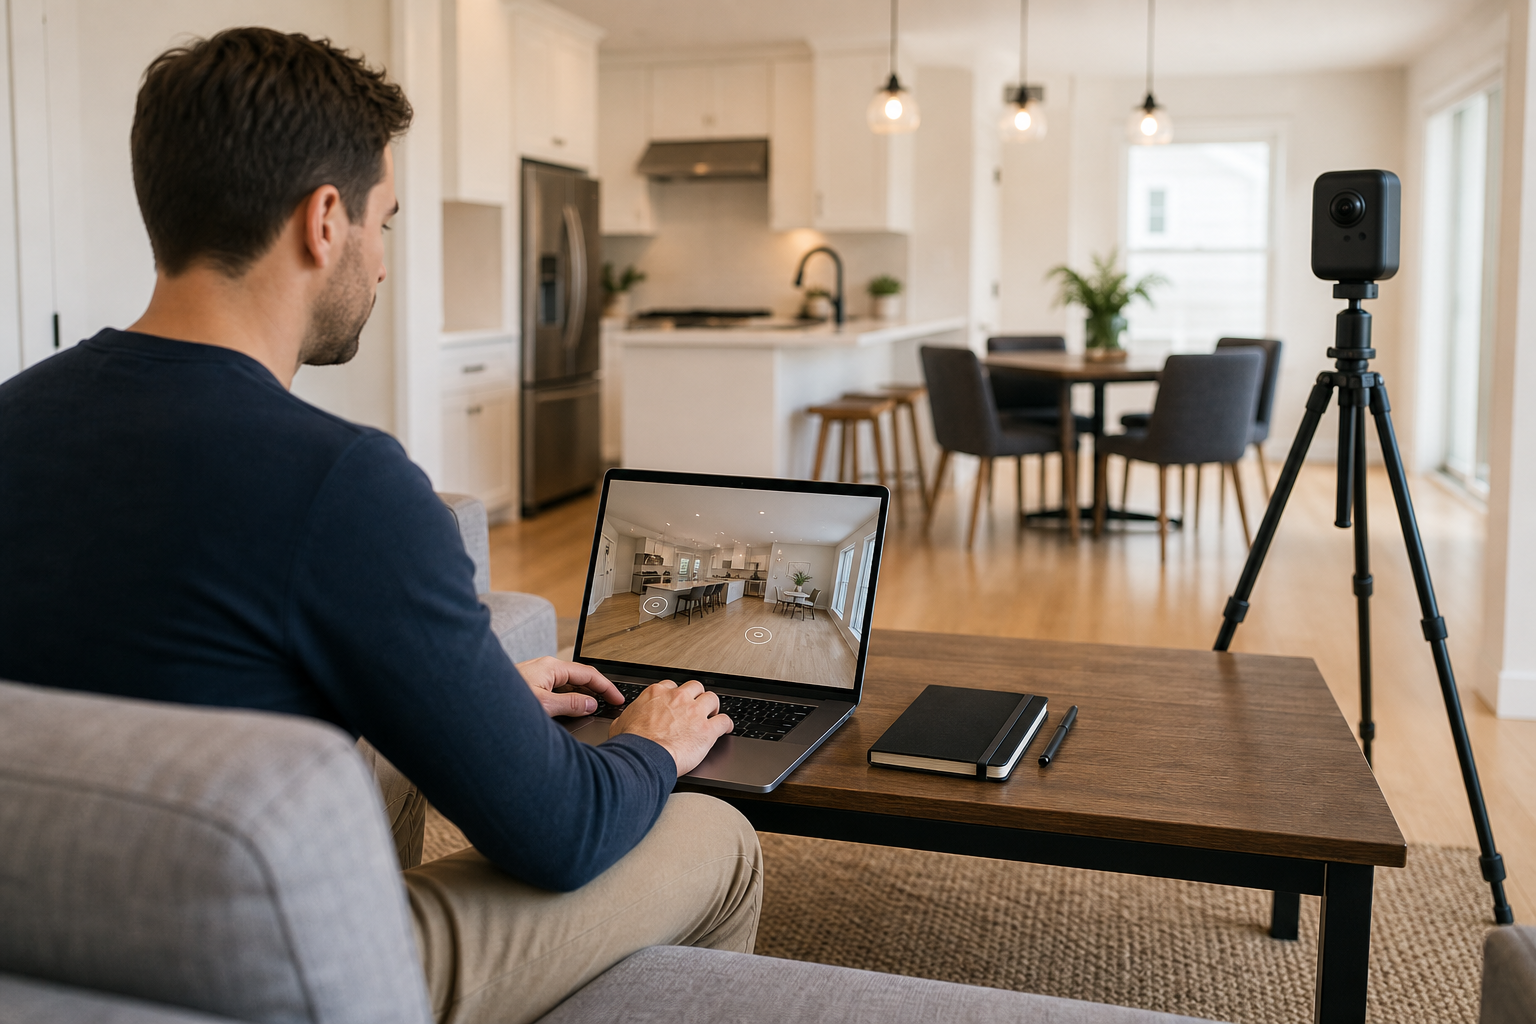
Run this scripted test during vendor calls or demos. Do the steps while a rep shares their screen or when you are on a test tour link.
- Orientation test (2 minutes): Does the first view explain where you are and how rooms connect? Fail if visitors must guess layout (guided tour guidance).
- Navigation and routing test (3 minutes): Move through the tour end-to-end. Are hotspots clear and predictable? Fail if navigation feels random.
- Mobile capture and playback test (4 minutes): Open the tour on a phone over cellular. Check load time, zoom behaviour, and touch navigation.
- Embedding and shareability test (3 minutes): Ask for the embed code and a public link. Paste the embed in a draft listing or simple HTML page and test how it displays on mobile.
- Analytics verification (3 minutes): Ask to see sample analytics from an existing live tour: session length, view counts, and peak scenes. Confirm the platform logs events you care about.
If a vendor fails any mandatory test, treat that as a no-go unless they commit to a fix and can demonstrate it quickly in a follow-up test. Buyer guides emphasise using operational tests rather than visual theatrics when vetting suppliers (hotel buyer guide).
Privacy, security, and Canadian considerations
Virtual tours can capture personal items, neighbours’ properties, or metadata. Keep these checks in mind:
- Redact or crop images that reveal neighbours, minors, or sensitive information.
- Confirm where hosted tour data is stored and ask the vendor about data retention and deletion policies before signing up.
- Include a short privacy notice in your listing if tours collect any viewer data or require registration.
- For transactions involving sensitive properties or tenancy screening, consult legal counsel familiar with Canadian privacy law; buyer guides recommend treating security and contractual terms as part of vendor selection (2026 buyers guide).
Minimum quality stop points and decision criteria checklist
Use these pass or fail items to make a go or no-go decision when you test a platform or vendor.
- Pass if first-view orientation is immediate and unambiguous.
- Pass if navigation is clear on both desktop and phone.
- Pass if embed code or public link works and loads on 4G mobile within acceptable time.
- Pass if analytics report session length and unique visitors.
- Pass if the vendor documents data hosting and deletion policies.
- Decline if measurement claims are needed for a listing but the vendor cannot demonstrate measurement accuracy.
Next steps and quick actions for Houseup sellers
- Choose a capture approach that matches your budget and listing tier.
- Run the 15-minute demo test with at least two vendors, prioritising operational answers over effects.
- Embed a test tour in a draft Houseup listing and preview it on mobile before publishing (Houseup).
- If you prefer a pro, search Houseup’s professionals directory and request a sample tour capture from candidates: vds construction 0rt47d.
- Only publish once your mandatory pass items are green and privacy checks are complete.
Frequently asked questions
Do virtual tours increase the quality of buyer enquiries for Houseup listings?
Yes, listings that include virtual tours tend to attract viewers who are further along in their decision because they can vet layout and flow beforehand. Industry overviews highlight that virtual tours help buyers self-qualify before in-person visits (Matterport). However, results vary by market and listing quality.
Can I create an acceptable virtual tour with just a smartphone and free software?
Yes, many acceptable tours are built using modern smartphones and affordable software or AI builders. The tradeoff is lower measurement accuracy and sometimes stitch artefacts. If speed and cost are priorities, test an AI photo-to-tour or phone-based workflow first (VirtualTourEasy).
How do I embed a virtual tour so it shows correctly on mobile in Houseup?
Request an iframe embed code or a mobile-optimised public link from the vendor, paste it into a draft Houseup listing, and preview on a phone. Test load times on cellular data and ensure the tour’s first view is a clear orientation image so mobile visitors understand the property layout (Houseup).
What privacy steps should I take before publishing a virtual tour in Canada?
Remove or blur personal or sensitive items in images, confirm the vendor’s data-retention and deletion policies, and add a short privacy note in your listing if you collect viewer data. For complex or high-risk cases, consult legal counsel experienced with Canadian privacy law; buyer guides recommend treating security as part of vendor selection (hotel buyer guide).
When should I hire a professional photographer instead of doing it myself?
Hire a pro when you need precise floorplans and measurements, premium visual fidelity, or when you prefer a turnkey service to save time. Use Houseup’s professionals directory to find vendors who can deliver and share sample tours before you book (vds construction 0rt47d).
Ready to test a tour in your next listing? Visit Houseup to create a draft and try embedding a sample tour, then run the 15-minute demo test with two vendors to compare practical results.
Which capture approach will you test first?